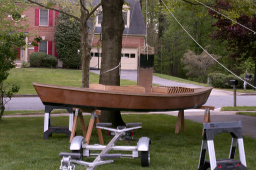
All shipyards need a crane and why should a home boatyard be any different? I needed a safe way to lift the 100 lb+ keel up and into the slot in the boat. There is a nice thick branch on our pin oak. I sent a loop of line around it and hoisted a 600 lb capacity block up there with a nylon line roven through it. One end of the line was made fast to the keel, the other to the trailer hitch on my truck. By moving the truck back and forth the keel would move up and down.
The fun thing about this setup is that it's a single uncut piece of line and I did no climbing to get it into the tree.

Here's the keel fitted into the slot but almost all the way out. The black dot at coaming top level is one of the holes for the dowels which pin it in the raised position. The normal keel up position would have the dot at deck level.

The black graphite coating on the keel would be hidden in the slot in full down position. This is as low as it could go, but it was enough to verify that the keel fit in the slot without binding.

Image courtesy of Dan Thaler
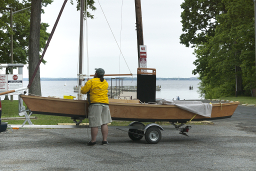
I decided to do the first rigging in CLC's parking lot because that way I could start a tab and just pick up any hardware that I'd forgotten to buy earlier.
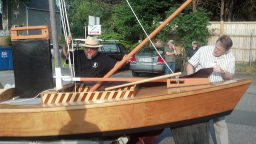
All sorts of good stuff visible here. There's the drop keel resting on its pins in the up position for trailering. The pins are resting on a layer of SeaDek. I chose SeaDek for its resilience and non-skid properties. It absorbs the pressure at the pins and also provides a safe surface to stand on while lifting the keel.
Also visible is the carbon fiber main mast and the main gaff. In my hand is the 2 lb, hollow carbon fiber main boom. All the spars are home made.
Next is the tiller, rudder box and the rudder itself.

All the rigging getting redone for the first sail while a quiet Chesapeake bay calls in the background.

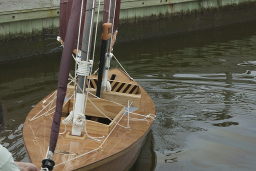
I added a roller furler for the jib. That way, instead of having to climb from the cockpit into the hatch to douse the jib and then figure out where to put a big handful of sailcloth, I can stay in the safety of the cockpit. In under 30 seconds I can go from a fully-deployed jib to a tightly rolled and stowed sail.
The sheet blocks are lashed to the mast with prusik knots. As well as anchoring the blocks, the knots provide a collar for the boom jaws to rest on.

This is the part of a project, where I see it complete for the first time, that always leaves me wondering how it happened. That's one reason for these web pages, to document for myself all the steps that would otherwise fade away.
Off to the Bay!