I used the designer-specified epoxy (System 3) and the highest quality plywood I could find (Lloyd's-certified BS1088
marine okoume from Chesapeake Light Craft). After all, that 1/4-inch thick piece of wood would be the only thing between Davey Jones'
locker and me. I think it's much better to be in a boat with a broke wallet than in the water with a broke boat. Not that the
difference in price between exterior ACX and BS1088 plywood will actually make one go broke. When the extra epoxy and
fillers and sandpaper required to finished the C side is acounted for, there's not that much difference in actual price per sheet.
And the Cheap Canoe uses only 2 sheets.
Instead of cutting the wood by hand with my Japanese razor saw, as I did for Krakenbait, I used an electric jig saw. The reasons were
purely pragmatic. First, I was on a tight schedule - I had 4 days to have the boat assembled. And second, the beautifully smooth
cut made by the razor saw made no difference. The cut edges were going to be embedded in the joints and, with any luck at all, never
seen again by the eyes of any human now alive. The only smooth edges needed were for the sheer. Again, since I was using BS1088 plywood,
these edges were being supplied by the shop edge of the plywood sheet.
The construction went pretty much as described in the plans and the bateau.com website.
Layout was very easy because BS1088 plywood is required to have square edges. I did not have to mark off and measure
parallel and right angle lines before I could start layout. Nor did I have to worry about which side of the wood to use since
BS1088 results in both sides being "A" faces. The only complication was a self-induced one of not leaving any pencil lines on
the final-cut pieces. This was to give me the option of finishing the boat bright.
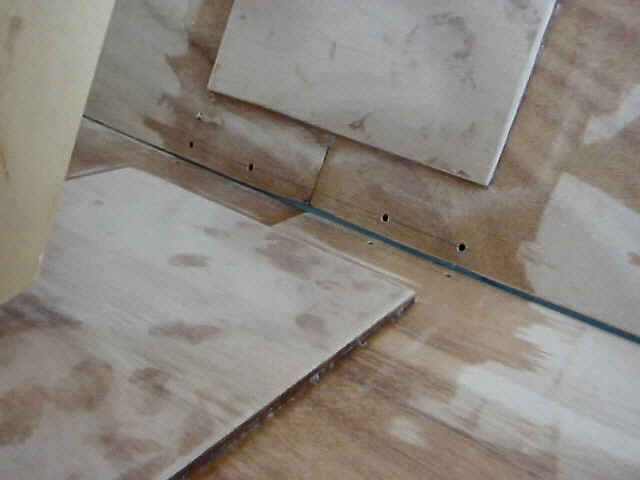
Gluing the butt joints was straightforward, exactly as described in the plans. Stitching the hull was another story. Although the
Cheap Canoe (which is neither) is nominally a stitch and glue boat, according to the plans it never gets stitched (a boat of
many contradictions). You're supposed to use duct tape to hold the pieces together until the glue sets. This is possible because
of the low weight and lack of extreme bending angles and framing. It's supposed to make construction easier because no stitch
holes need to be drilled.
However, there's duct tape and there's duct tape. Real duct tape is fabric-based, non-stretchy and relatively unaffected by heat
that won't burn your hand. The "duct" tape sold in most home improvement, hardware and DIY stores is a stretchy plastic with a
weak adhesive and will soften, stretch and release with only modest amounts of heat. But it is cheaper.
The first use for the duct tape is to hold the sides to the bottom in a sort of triptych, where the tape is the hinge that holds
the three sections together. The sides are then folded up and connected to each other at the sheer with a batten (see below).
However, every time I got the side close enough to connect to the batten, that lousy "duct" tape would pull free and the
side would separate from the bottom.
The process of folding the side and connecting it to the batten was just too abrupt, and the sudden stress on the tape too
extreme for it to handle. Finally, I had enough, grabbed a few cable ties and a drill and just put a couple of stitches in at the
center of the panels. I also put a 6-inch screw through the hull at the sheer line into the batten, leaving 4 inches or so sticking
out. A cable tie was used to secure the hull to the batten. This gave me a loose, adjustable connection to the batten which didn't
require everything to be a perfect fit immediately.
I was able to fold the sides up (with the cable tie stitches/hinges holding the centers together) and then gently adjust the
spacing so that the cheap "duct" tape wouldn't stretch out and pull off. Once everything was together I removed the stitches
and let the "duct" tape to hold it all in place. If I had it to do all over again, I'd be sure to find the good, original
duct tape to avoid these problems. If it was unavailable, I'd just stitch the boat from the start. Six stitches per side (including
the bow and stern) would easily take care of holding everything together.
My next deviation from the assembly sequence in the plans was to make a vertical support for the batten. This was because once
the hull was assembled, the sides sat straight on the workbench. This was a problem because it reduced the freeboard by 1/4 inch
(something not to be scorned in such a shallow boat) and more importantly, there was no gap between the bottom and the side.
Jacques Mertens is very clear that his joints are designed to be loose with a gap that is to be filled with epoxy putty to
transmit the loads between the pieces of wood. By making a vertical support for the batten, I was able to raise the sides to
get the necessary gap. It also made the sheer and bottom lines look taut instead of droopy.
Now I was ready to start epoxying in earnest. The weather was cooperating. Daytime temperatures were in the 90's, which made the
medium speed hardener cure very quickly. The taping of the seams went well, right up until the epoxy went exothermic. Then the
combination of the 90 degree air temperature and the heat of the reaction softened that rotten "duct" tape and its adhesive. The
boat began to pull apart. After a vain attempt to fix it by adding more tape, I drilled though the seams in the worst places and
put in stitches. Maledictions on and a trip to perdition to the people ruined duct tape. May they make lots of money off their
cheap substitute and need every penny of it for their health care.
Once the tape follies were over, construction became routine again. I only deviated from the plans a couple more times. First, the
rub rail. Since I was unable to find the specified 1x2 pine in long enough lengths of good quality, I used 2 layers of
2 x 3/8 pine. This was available in 15 foot lengths of sufficient quality. The double lamination gave me a slight thicker rub
rail than specified in the plans. In the interests of speed, as soon as I had clamped the first layer on, I undid the middle
clamps and slipped the second layer on top. I worked my way along the front and back loosening each clamp and slipping the
next layer under. It was incredibly messy, epoxy glue everywhere, but I got both laminations on in one long step. While everything
was covered with glue anyway, I laminated the stock for the breasthooks and let everything cure overnight.
The breasthooks went in the next morning. I just put them in place and ran a bead of putty across the top edges to hold them in place.
After another day of curing, I got out the sander and shaped the rubrail on the bow and stern to a nice point. I also removed
the tape ridges and smoothed down the worst globs. Finally, I coated the entire inside with epoxy and let it cure overnight.
The next day I coated the outside.
It was now time for the final deviation from the plans. I wanted to have a strong attachment point for the anchor rode, the
car tie-down and something I could pick up the boat by. The breasthooks weren't shaped right and I didn't really want to
fool around with cleats. It occurred to me that if I put a 1 inch hardwood dowel through both sides at the rub rail just
behind the breasthook, it'd be anchored in the thickest wood at the structurally strongest point in the boat. It'd be easy to
tie to, and if properly spaced, easy to get a grip on. It also meant that I wouldn't have to glass the breasthooks in since they
would not be the gripping strong point for carrying. So I did.
The boat was now structurally complete. The penultimate question was the finish - paint or varnish? How about - neither.
OK, we've all
known since Noah's Ark that epoxy is degraded by solar UV so it must be painted or varnished with a UV-blocking varnish. But
what would happen if it was left uncovered? Well, in the tropics, after about 6 months in the sunlight, the epoxy would begin
to break down and get chalky. OK, 6 months of daily tropical solar exposure is almost 1900 hours. I'll be lucky to put in
10 hours a week on the water, with another 4 hours of transportation. Assuming 14 hours of exposure per week, that's about
2 1/2 years before chalking starts. And that's in the tropics. Here in Maryland, the average solar intensity is less. The
boating season is shorter. And the boat will be in the garage between uses. So let's be really conservative and say 5 years
before chalking starts. Long before that 5 years, the rocks and gravel and branches and carrying racks and cement launch ramps
and portages and especially the oyster shells are going to have destroyed an untended epoxy finish. So since the epoxy will
need annual maintenance anyway, there's no reason to worry about the 5-year UV bogeyman. Slap on another coat of epoxy and head for
the water. And thanks again to that lovely BS1088 okoume, a coat of epoxy without sanding is a perfectly good 10-foot
finish (looks great 10 feet away).